
Syncing Changes between LightStanza and Revit
Steps to Sync Changes:
-
Install the Plugin: Download and install the LightStanza Revit plugin for your specific version of Revit (2021-2026 are supported).
-
Export your Revit Model: Open the Revit model you want to synchronize in Revit and use the Export function on the LightStanza tab to create the initial lighting projecting in LightStanza. Additional detail on exporting Revit models can be found in our Electric Lighting Help Guide. For bi-directional syncing, between LightStanza and Revit, enable both options under the Advanced tab as shown below.
Control Sync Direction: You can choose to sync from Revit to LightStanza, from LightStanza to Revit, or in both directions. Use the options on the Advanced tab, shown below, to set your preference.
-
Revit to LightStanza: Updates like room redesigns or fixture changes made in Revit can be sent to LightStanza.
-
LightStanza to Revit: Changes in LightStanza, such as fixture adjustments, placements, or even deletions, can be synced back to the Revit model.
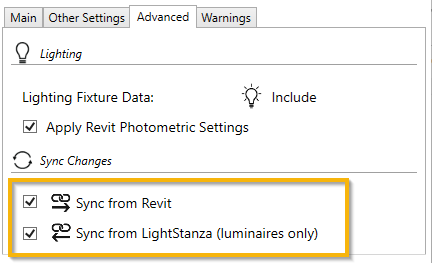
Image showing the Sync changes settings in the LightStanza Revit plugin
-
-
Make adjustments to luminaires: Move and rotate luminaires, as needed, to capture the design intent for the lighting solution.
-
Calculate: Use the Grid Analysis function below the Calculate dropdown to create lighting simulation results and luminaire schedules.
-
Send Luminaire Changes to Revit: Use the link icon in the upper-righthand corner to send luminaire changes from LightStanza to Revit. When you return to your Revit model, a confirmation dialog will display where you can accept the changes, or not.
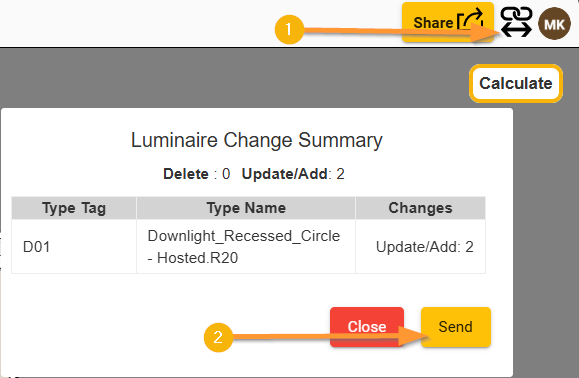
Send changes to Revit
-
Send Calculation Results to Revit: Open the calculation Report to send point-by-point results, statistical summary schedules, and luminaire schedules to your Revit model.

Send results to Revit via the Report
-
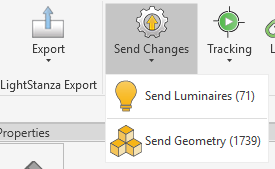
Sending changes from Revit to LightStanza: If changes are made to the Revit model, after the initial export, update your LightStanza project accordingly using the Send Changes button. A new grid analysis calculation is necessary to update the simulation results to reflect the changes.


Known Limitations:
- Syncing luminaire changes is limited to location changes, and rotation changes. The following other change types are not yet captured.
- Aiming
- Changing the associated photometric file requires Revit to be run in Admin mode to update the Photometric Web File parameter for the modified luminaire type.
- This limitation applies only to Revit 2023 and later versions.
- Replacing luminaire types.